

NEWS
Company News
- 作者: tybonder
- 来源: tybonder
- 日期: 2017-03-16
- 浏览次数: 4097次
Door hinges play an important role in our everyday lives; they support your exterior doors, providing the first line of safety for the family inside, and offer protection from the elements. Inside the home, they offer privacy to family members. Installing door hinges, whether new or replacement ones, is an easy skill to master and can be invaluable for many homeowners, especially ones who enjoy projects.

1
Installing Door Hinges
1
Place your hinges in the correct location. Assuming you’re installing a new door, you’ll need to find the precise location on the wall for your hinges. Most doors require a minimum of two hinges: one hinge is located 7-inches from the top of the door frame, and the other hinge is located 11-inches from the bottom of the door frame. Measure this distance and mark the location on the frame, and then do the same on the door that you’re hanging.
If you have a third hinge (typically used for heavy doors), it will be placed directly in the middle of the other two hinges (this will put it slightly off-center).
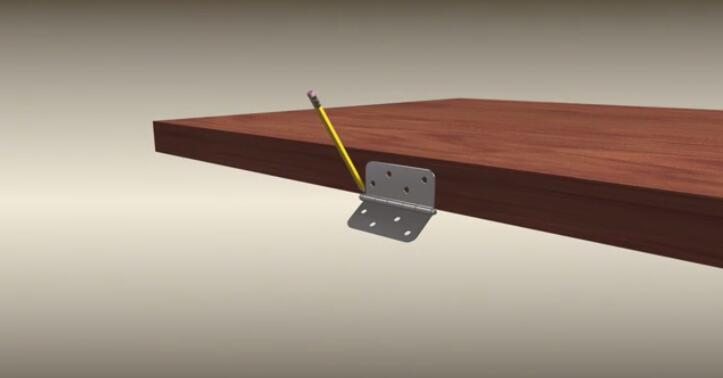
2
Trace around the hinge. Put your hinge in place on the door and the jamb, and use a carpenters pencil to carefully trace around the hinge. Additionally, make note of the depth of the hinge on the jamb. Double check to make sure that your outlines match the same location on the door and jamb, before moving to the next step. Then, use a box-cutter to score the outline; this will make it easier to cut the mortise.
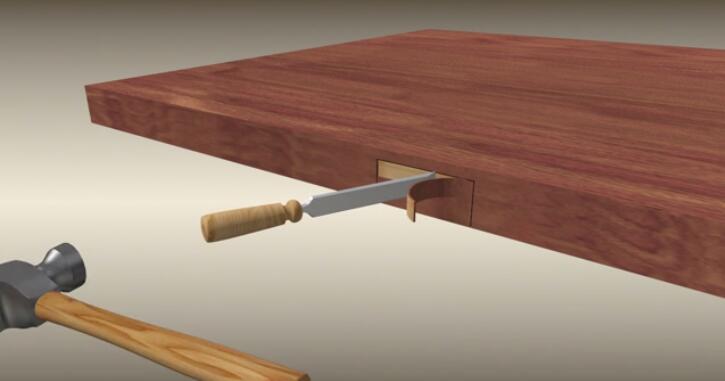
3
Cut the mortise. The term ‘cut the mortise’ is the professional term for cutting out the wood in the jamb in the shape of the hinge, so that the hinge will be inset in the jamb and provide more strength and aesthetic appeal. To cut the mortise, you’ll need a very sharp chisel and a hammer. Carefully tap the chisel into the jamb from the side, to remove thin strips of wood. Make sure not to cut the mortise too deep, as this will cause the hinge to become loose over time. Cut out only the outlined area and the marked depth.[1]
- Using a dull chisel will make it more difficult to cut the mortise, and cause you to use more pressure with the hammer (which could cause a slip).
- If you cut the mortise too deep, you can place a small slip of cardboard in it before installing the hinge.
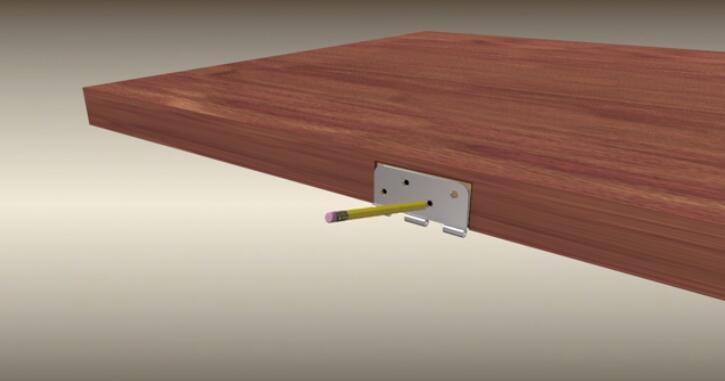
4
Mark the location of the screws. Replace the hinge back in the jamb where you cut the mortise. Use your pencil to mark the location of the screws in the jamb. Do the same with the location of the hinge on the door. Remove the hinges when you’re done marking.

5
Drill the pilot holes. Use your screwdriver to drill the pilot holes in the location of the screws you marked on the jamb. Tap them lightly in first, to make sure the screws don’t accidentally move out of place.
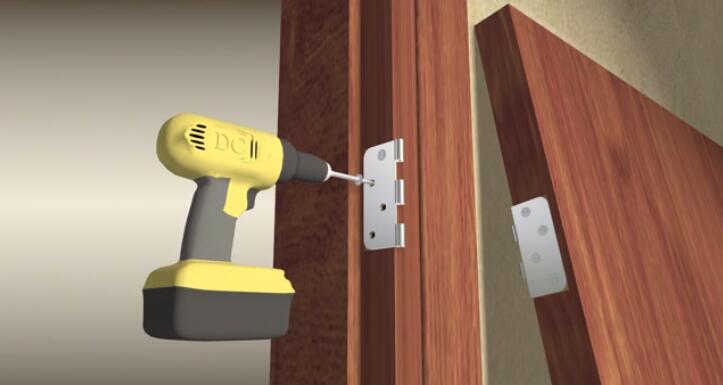
6
Install the individual hinges. Put the hinges back in their places, and use a screwdriver to secure them individually into the jamb and the door.
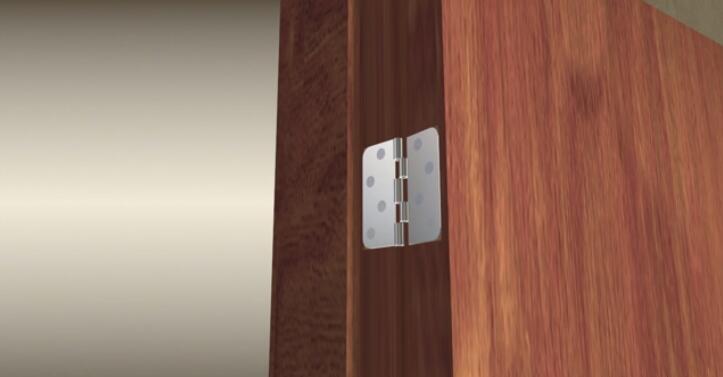
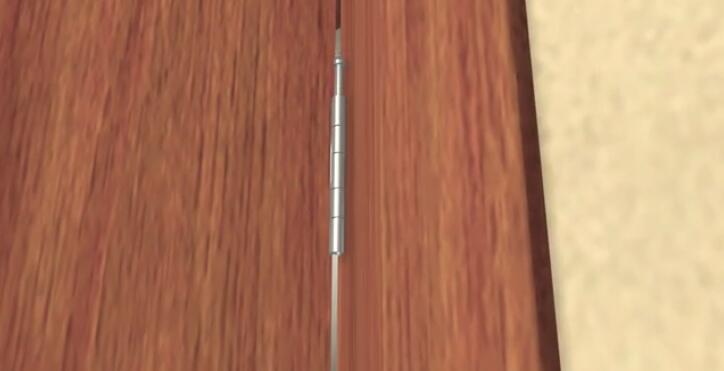
7
Connect the door to the jamb. Hold the door in place, using shims under the bottom to support it if necessary. Line up the two hinge plates so that the ones on the door match the ones in the jamb. Slide the hinge pins into place, and remove the shims from the door. Test the door to make sure it works, and you’re finished!
Copyright © Shenzhen Tybonder Technology Co.,Ltd URL:www.tybonder.com
本站部分图文来源网络,如有侵权问题请通知我们处理!
做网站维护
-
Online Service

